How to Schedule Exam
Schedule Exam Step 1:
You can start schedule exam by clicking on the link “Start Exam” on the top of the menu part.
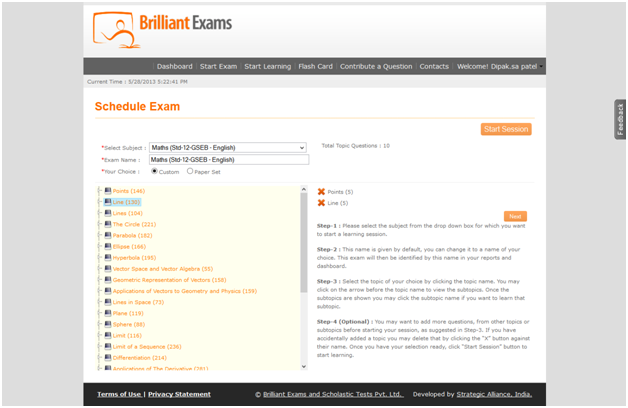
- You must select the subject from the list for which you want to schedule your exam.
- Give the exam name as per your choice.
- If you select the topic yourself then choose the “Custom” option.
- If you want to use “Paper Set” option, which displays the Paper sets of selected subject created by site Administrator, so that you don’t need to select the topic one after another.
- If you want to start the session for selected topic or Paper set then just click on “Start Session” button. Or click on “Next” button to continue the next step.
Schedule Exam Step 2:
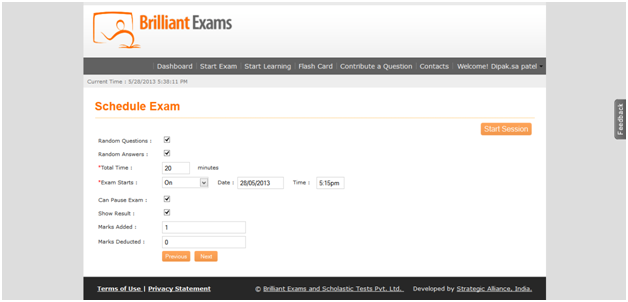
- Random Questions: Used for change the order of your exam questions.
- Random Answers: Used for change the order of your exam question options.
- Total Time: Specify that How much time need to complete your exam.
- Exam Starts: Using this you have three options.
On Specify that your exam starts on fix date and time.
Before Specify the option for select the End date and time for your exam.
After Specify the option for select the End date and time for your exam.
- Can Pause Exam: Specify the option for saving the exam during exam time.
- Show Result: Displays the result after completing the exam.
- Marks Added: Used for adding the mark of a particular question, if your question correct.
- Marks Deducted Used for deducting the mark of a particular question, if your question incorrect.
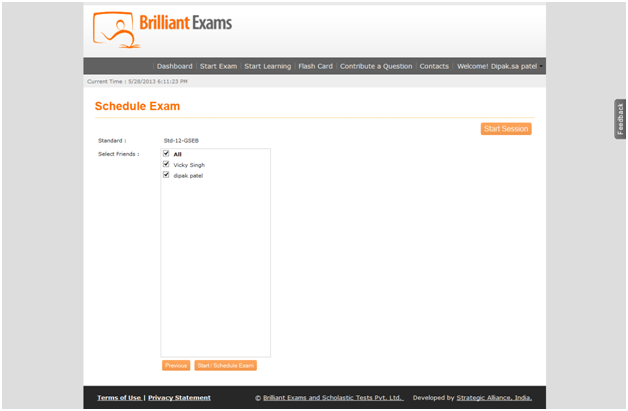
Schedule Exam Step 3:
In this step you can select your students or friends for appearing in exams and then click on “Start / Schedule Exam” button.
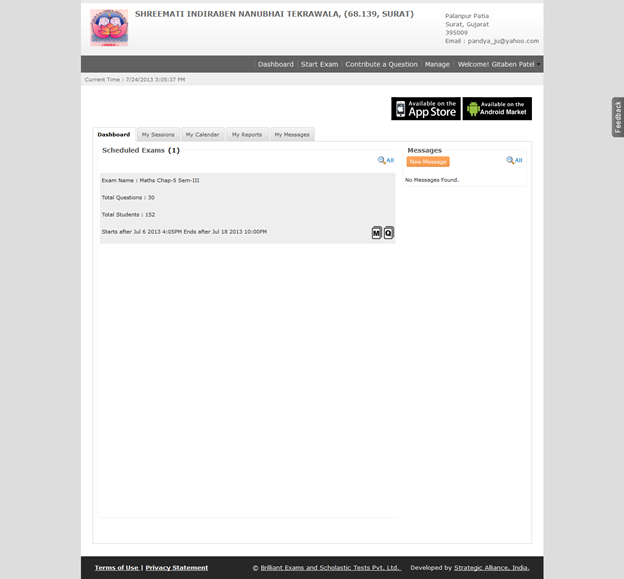
Schedule Exam Step 4:
In this last you can find your schedule exam on your dashboard page. You can start exam by clicking on the link button “Start Exam” from the dashboard page.